The cruise ship's railing is an underrated piece of kit. It doesn't need charging. It doesn't ask to be updated. It simply sits there, patiently, waiting for you to lean on it and attempt to photograph the ocean, which is famously uncooperative and never once looks exactly the same in real life as it does on your screen.
The good news is that modern smartphones are absurdly capable. The less good news is that they are also packed with pre-loaded settings that will cheerfully “help” you into producing a photo that looks like a teal poster for a budget meditation app. The aim here is to keep the clever bits your phone does well, ditch the nonsense, and come back from sea with pictures that actually feel like being there.
Start with the ship, not the phone
At sea, your enemy is not a lack of gear. It's physics. The deck moves, the wind buffers your hands, and salt spray can quickly turn your lens unintentionally soft-focus. Cruising World’s blunt assessment is that salt water, spray, mist and moisture are the worst things for camera gear, and while your phone is not a precious rangefinder, it is also not immune to being smeared into mediocrity.
Make a tiny ritual of it. Before you shoot, wipe the camera lenses. Not your T-shirt, unless you enjoy the “fingerprint sunset” aesthetic. Apple’s cleaning guidance for iPhone is basic but solid: use a soft, slightly damp, lint-free cloth and avoid getting moisture into openings.
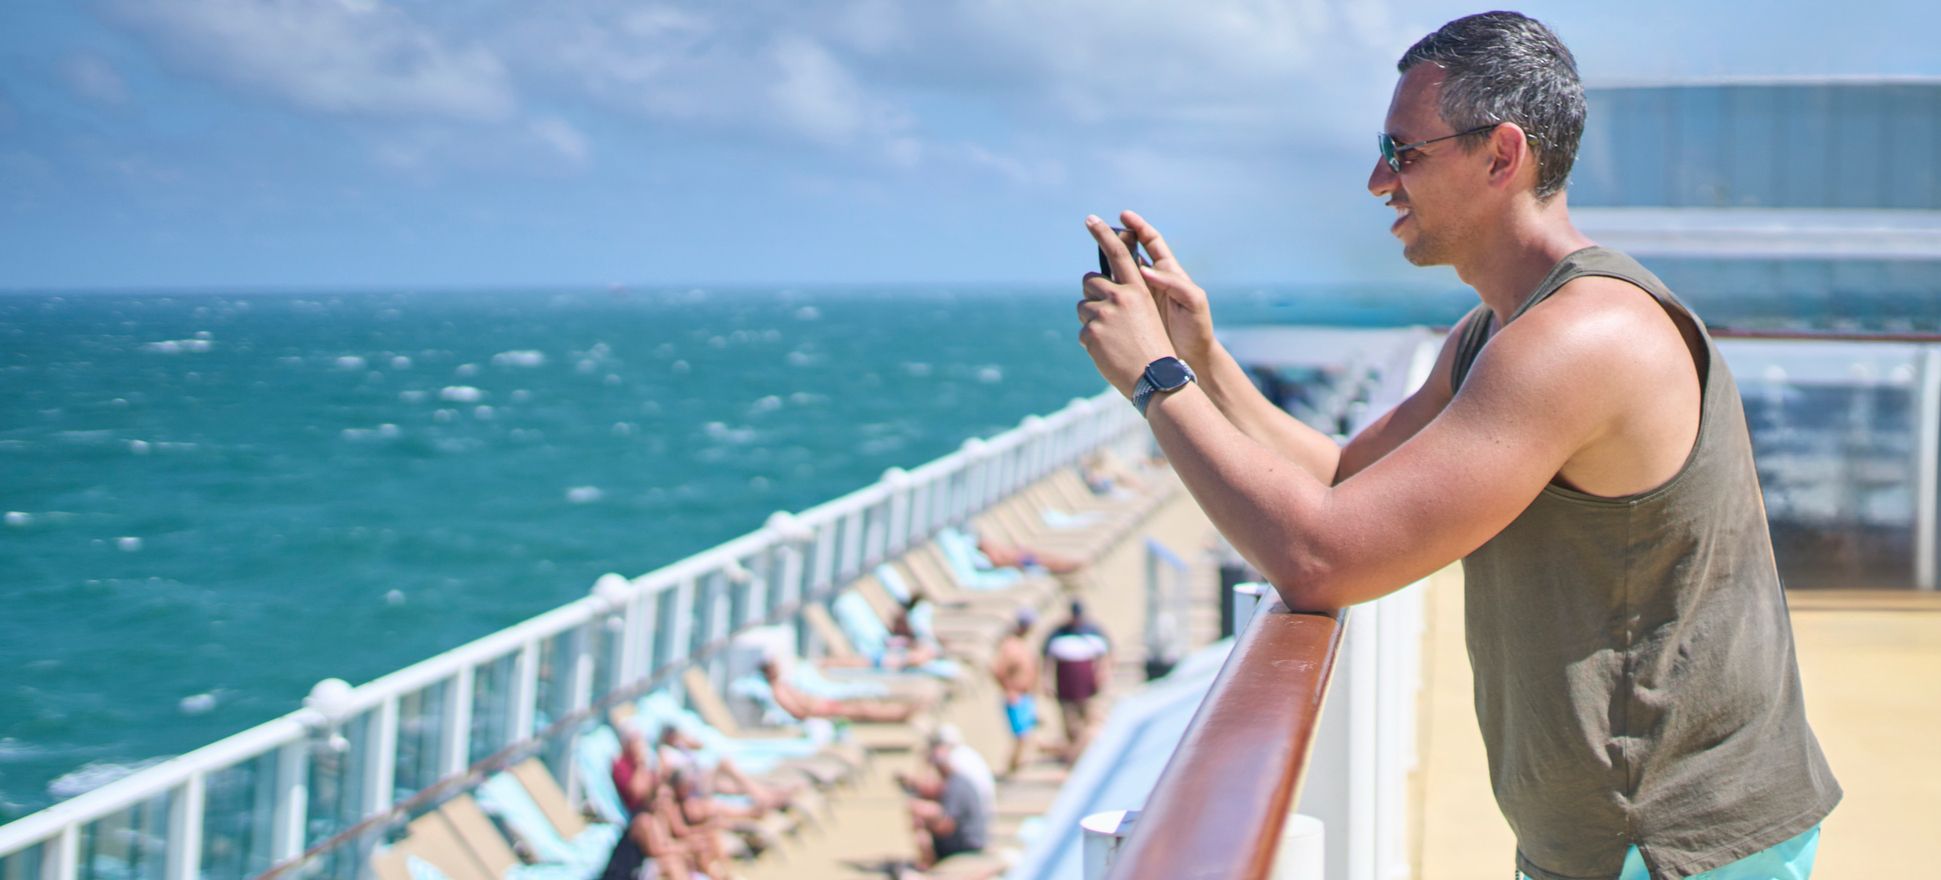
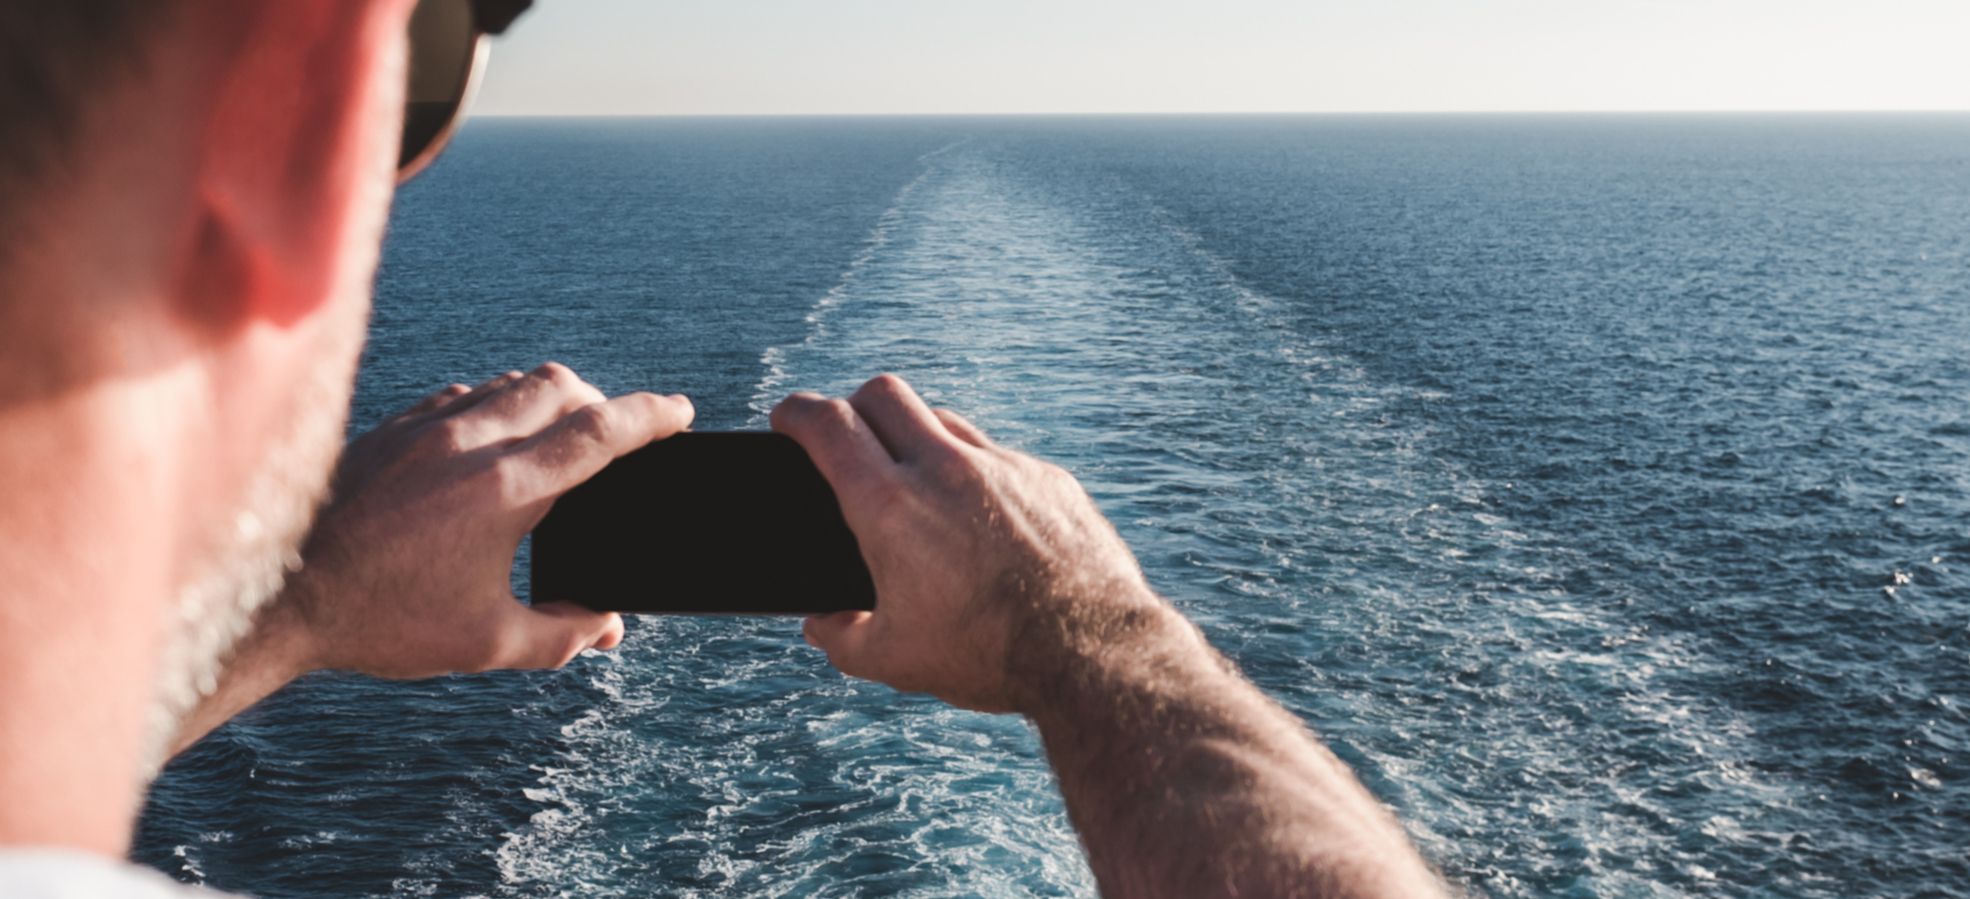
Then, find your position. The rail is your stabiliser and your boundary marker. Rest your forearms on it, tuck your elbows in, and let your body become a human tripod. If you're in a public spot, do not lean so far out that a crew member has to practice their emergency whistle technique.
Turn on the two features that instantly improve sea shots
Most people shoot the ocean freehand ending up with a horizon that's slightly tilted. But on iPhone, you can literally switch on a grid and a level in Settings so the camera shows guides while you compose. Apple’s own guide calls out using “Grid and Level” to straighten your shot.
That level line is your friend. A straight horizon makes a sea photo feel calm and expansive, even if you took it while clutching a paper cup of coffee and negotiating a seagull feud. Canon puts it plainly for seascapes: a level horizon can make or break the picture.
Lock focus and exposure before the phone changes its mind
Cruise photography is full of moments where your phone decides the important subject is not the lighthouse, the approaching island, or your friend looking windswept and romantic. It is a single glittery patch of water that's sitting somewhere in the background.
Locking focus and exposure stops the camera from hunting around like a dog that's spotted three squirrels at once. Apple’s iPhone camera tools explain that you can touch and hold to lock focus and exposure (AE/AF Lock), then adjust exposure up or down. If you are on a newer iPhone with Camera Control, Apple also describes a setting to lock focus and exposure via that control.
Do this whenever you have bright sky and dark ship rail in the same frame, which is, helpfully, most of the time.
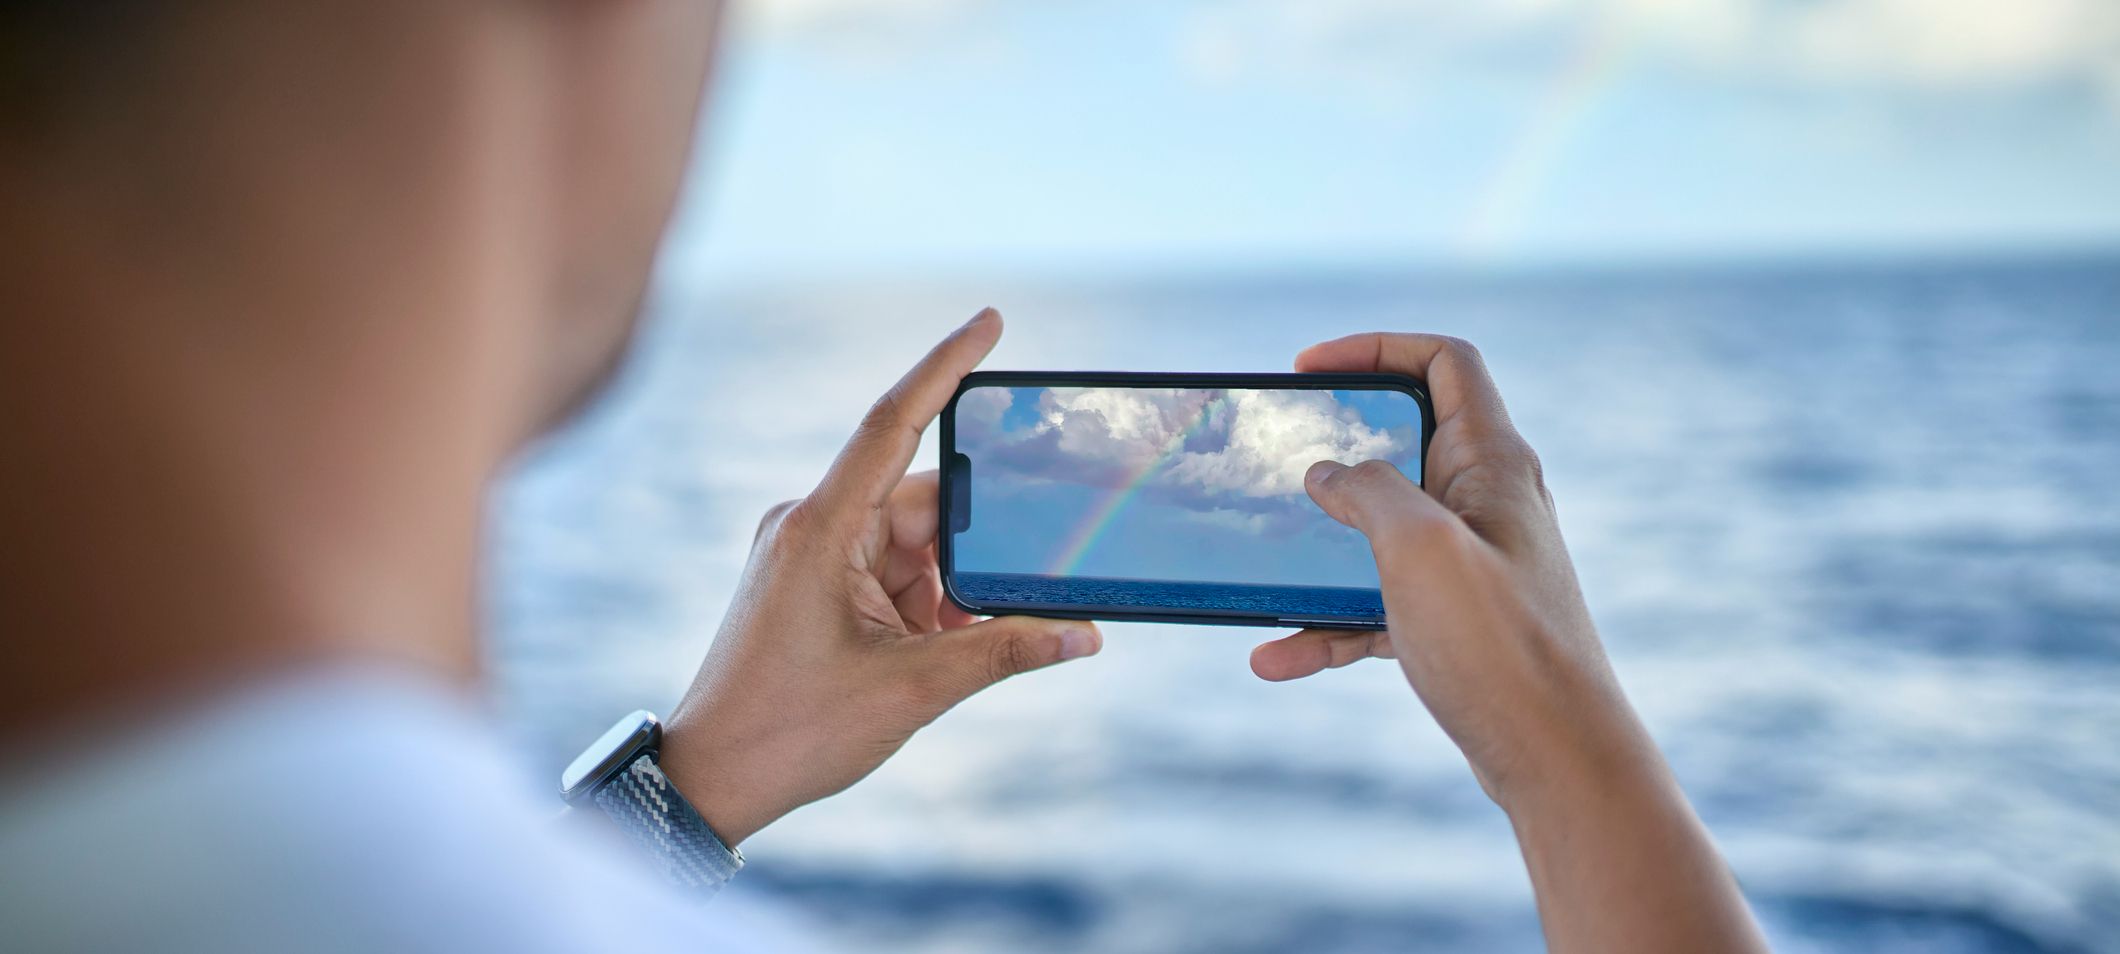
Accept that the sea is a dynamic range bully
On land, light is at least somewhat consistent. At sea, the sky is bright, the water is reflective, and the phone is trying to please everyone at once. This is where HDR earns its keep. iPhone uses HDR automatically in many situations, and Apple’s guide explains you can adjust HDR settings depending on model.
The practical approach is simple: if the sky keeps blowing out to white, tap on the bright area and pull exposure down a touch. If the sea keeps turning into a flat blue carpet, tap the mid-tones and let the phone hold detail in both directions. Either way, do not let the ship rail become a silhouette unless that is genuinely what you want.
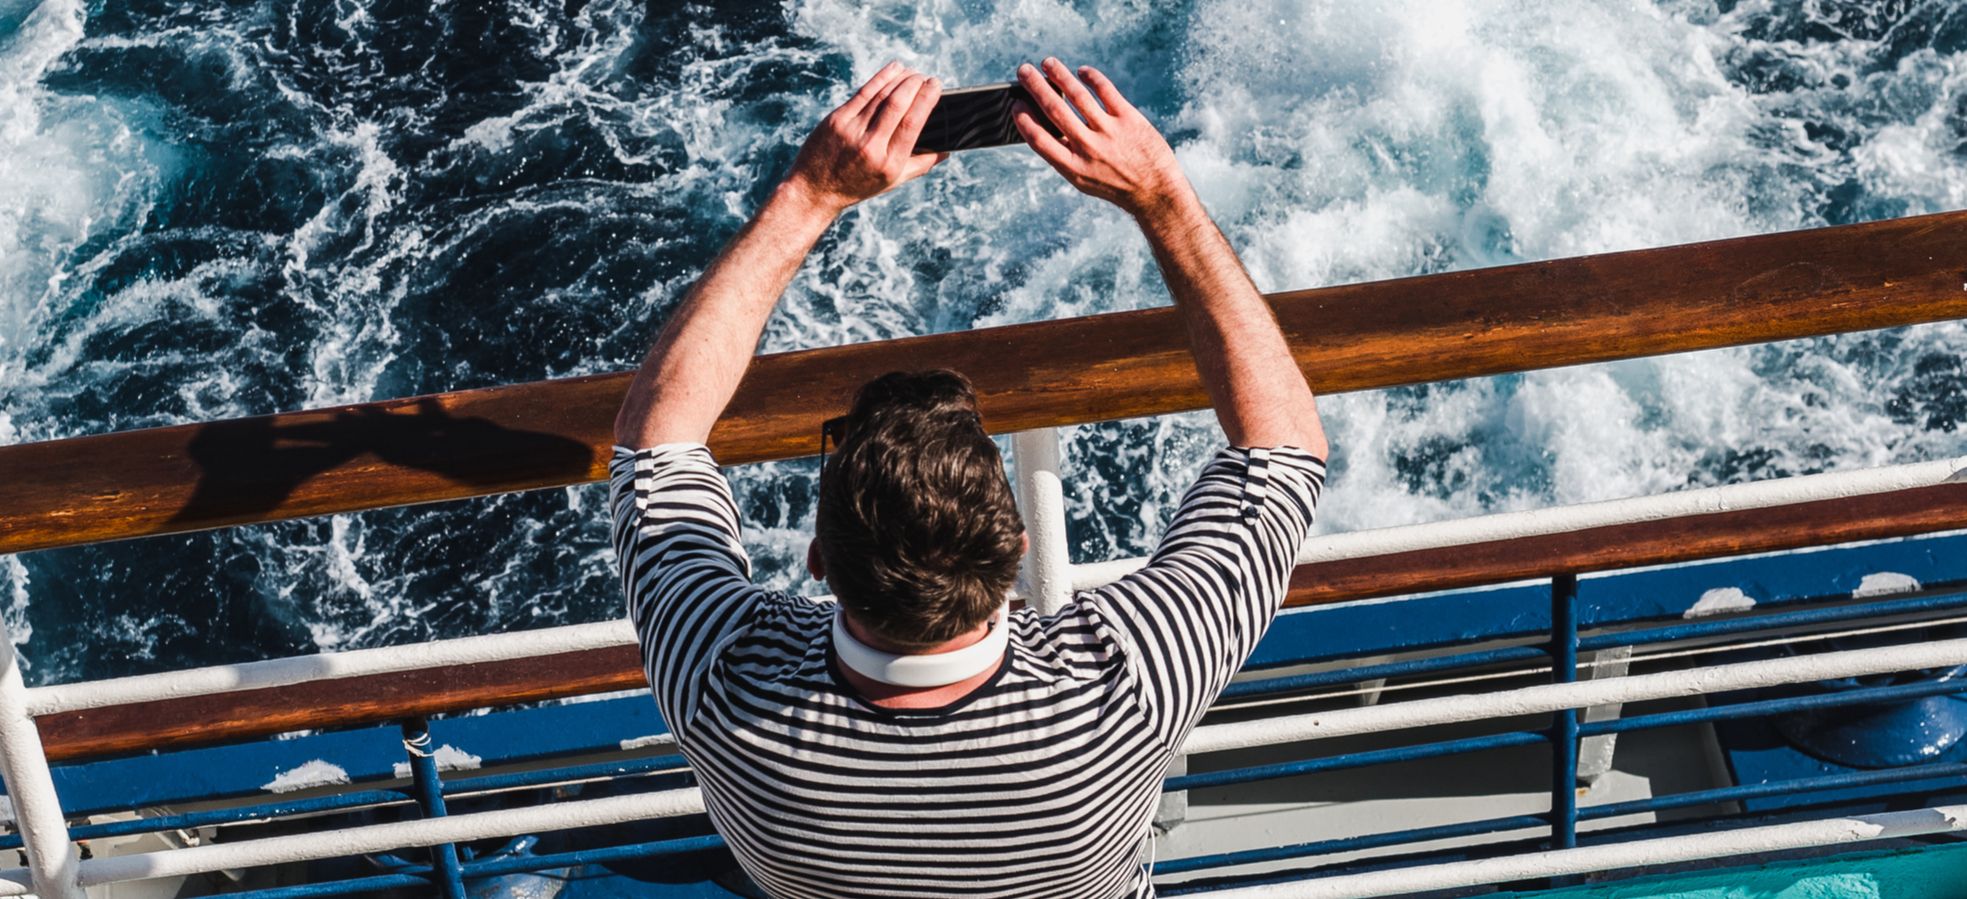
Use burst mode; ships are moving objects
Even on a calm day, there is always a little motion. Your hands move. The ship moves. Your subject moves, especially if your subject is a dolphin and it has places to be.
Burst mode is the easiest way to beat small movement and grab the one frame where everything aligns. Apple’s iPhone guide notes you can capture action shots with Burst mode, including using the Volume Up button if enabled in settings.
From the rail, burst is also the cure for “why is the horizon never level when I felt so level”. You take a short burst, then pick the frame where the sea is behaving and your wrists were briefly competent.
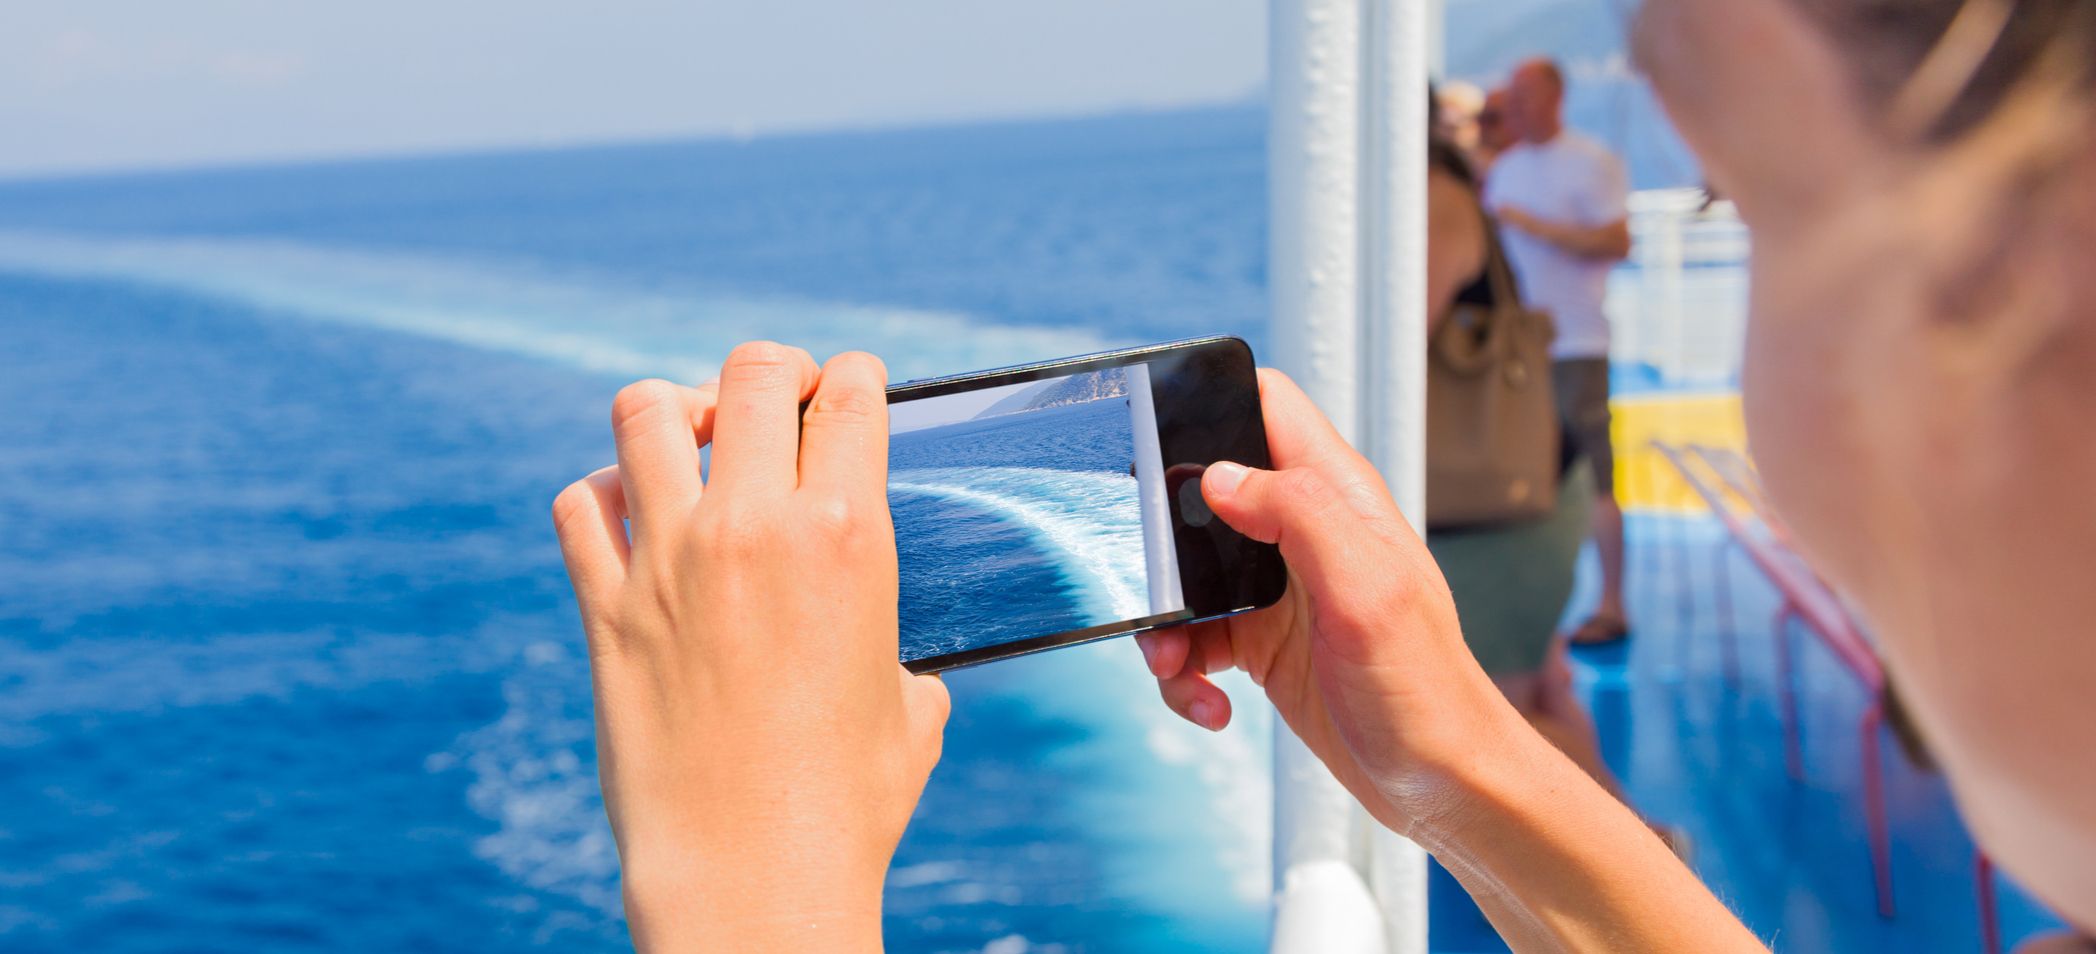
Zoom with restraint, and by “restraint” I mean “less than you want”
Your phone’s best lens is usually the main camera. The moment you start pinching to zoom, you may be inviting digital zoom to invent detail that does not exist.
If your phone has an optical telephoto lens, use it. If it does not, move your feet if you can. On a ship, this sometimes means walking ten metres along the rail to remove a lifeboat from your composition, which is a very "cruise" sentence when you think about it.
Also remember that the sea is minimalism by nature. A tighter composition often wins. Look for a single subject: a pilot boat, a distant headland, a patch of sun on water, a person framed against open horizon. The ocean photographs better when it has something to do.
Stop shooting through glass if you can possibly avoid it

Interior lounges with panoramic windows are lovely until you try to photograph through them and discover you have accidentally created a self-portrait featuring your own face, a chandelier reflection, and a faint outline of what might be Italy.
If you must shoot through glass, get the lens as close to the window as possible and shade it with your hand to reduce reflections. Better still, go outside. Yes, it is windy. Yes, your hair could be impacted. This is the price of clarity.
If you are often fighting glare and reflections off the sea itself, a polarising filter can help. Wanderlust notes that a polarising filter can cut reflections on water and make colours more vibrant. Digital Camera World explains the same principle more generally, that a polariser cuts reflections, with the trade-off of reducing light. On a phone, that usually means a clip-on filter. It is optional, slightly nerdy, and oddly satisfying when it works.
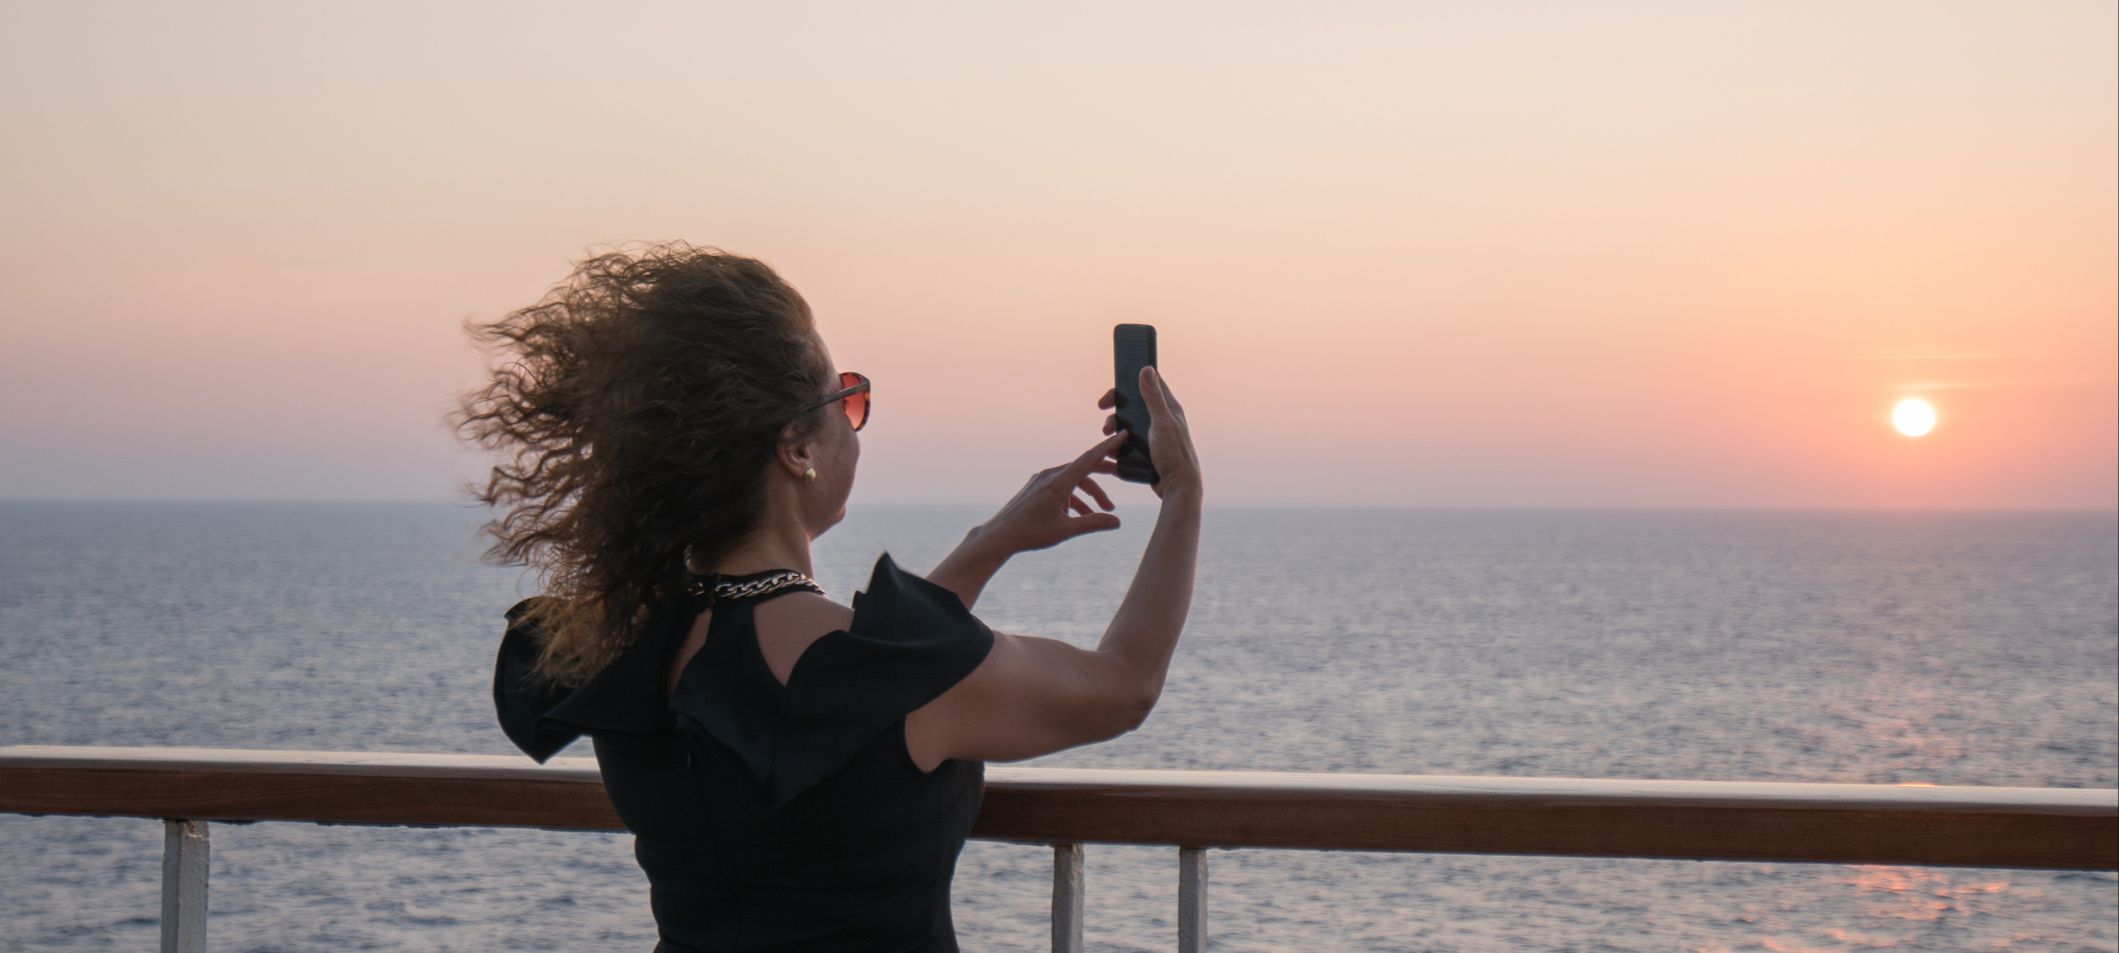
Night at sea is where phones quietly show off
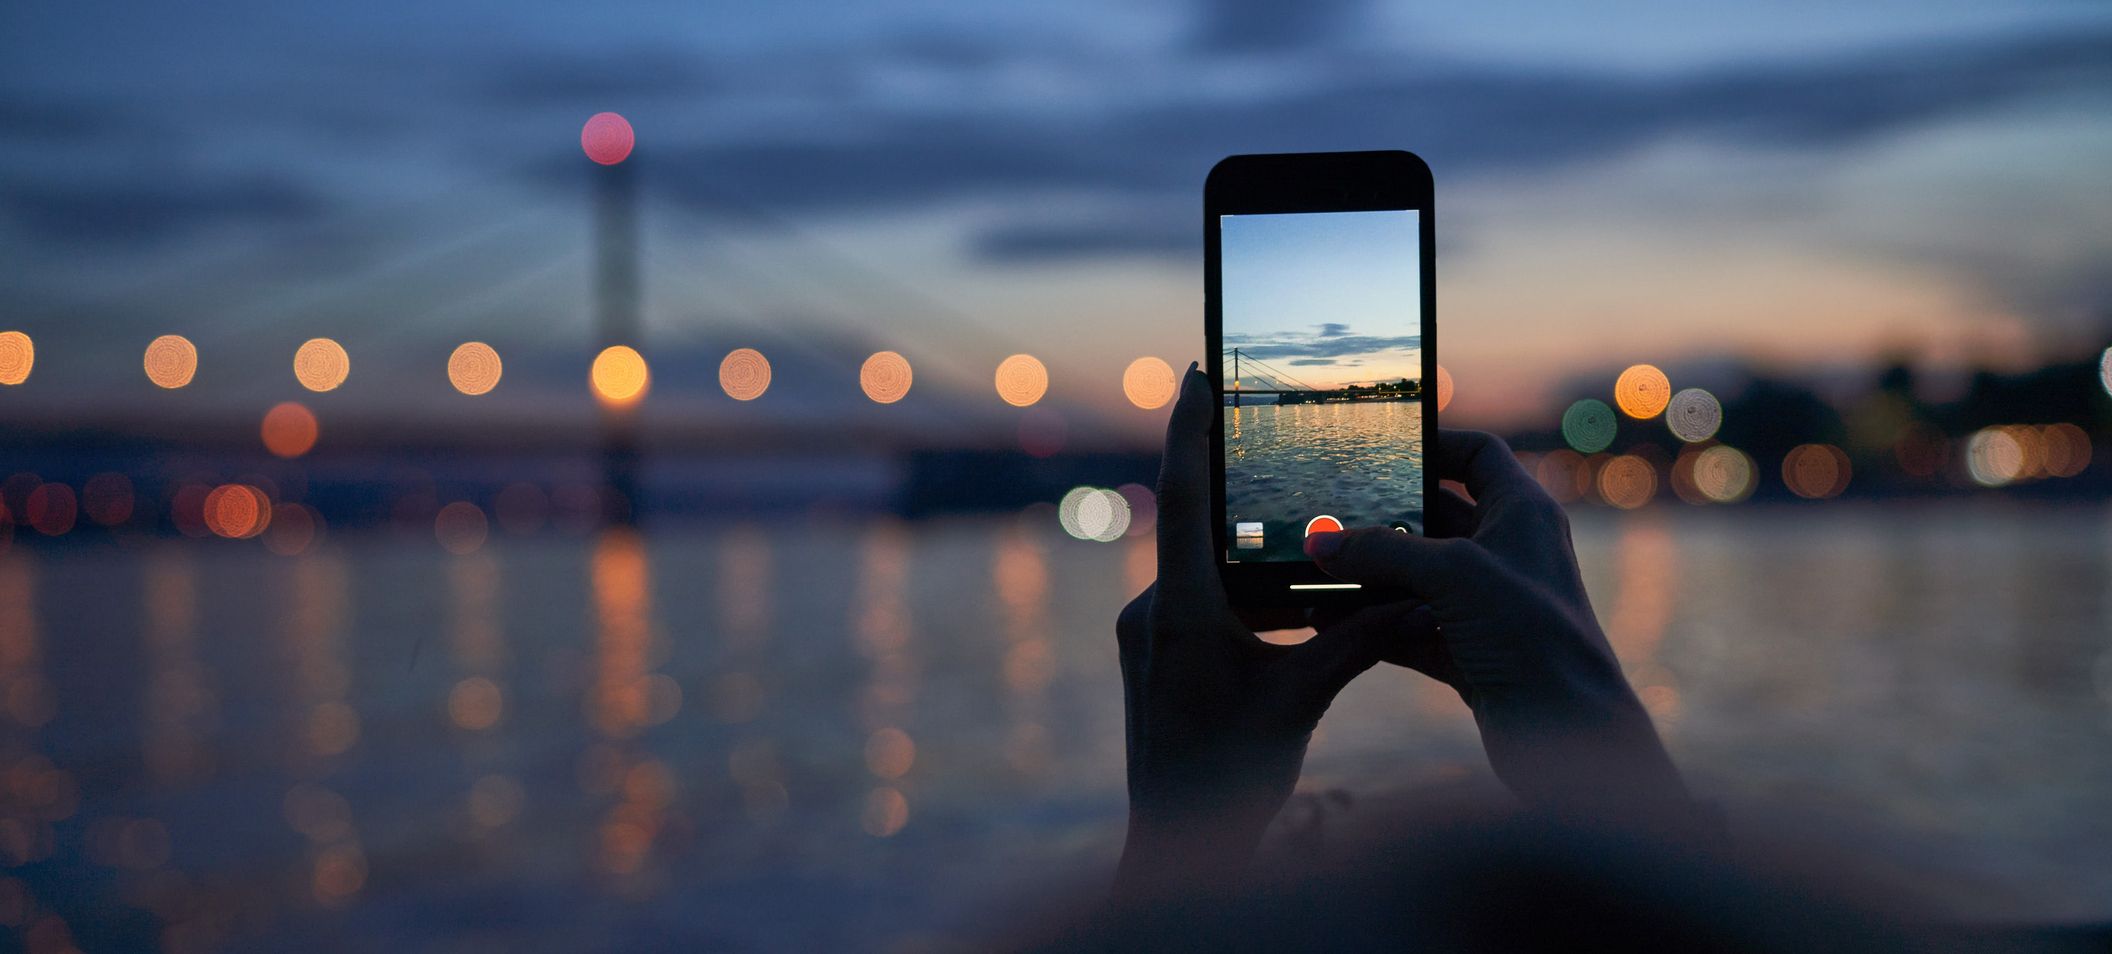
Sea at night is a masterclass in darkness. It is also where smartphones become shameless overachievers.
If you are on iPhone, Night mode turns on automatically in low light, and Apple’s guidance is basically a plea for stillness: hold your iPhone steady while it captures the shot. On Pixel, Google’s help page for Night Sight is similarly direct: choose Night Sight and hold still while the device captures the photo.
The rail helps here. Plant yourself, brace your phone, take a breath, and let the software do its little miracle. Just know the limitation: if the ship is properly moving and the exposure gets long, even the cleverest computational photography starts to look like a ghost story.
Astrophotography modes exist, but they are famously keen on stability and time. Google’s own guide for Pixel astrophotography suggests placing the phone on a stable surface and using a self-timer to minimise shake. That advice is perfect when the ship is docked or the sea is calm enough to feel theatrical. On a lively crossing, the stars may win.
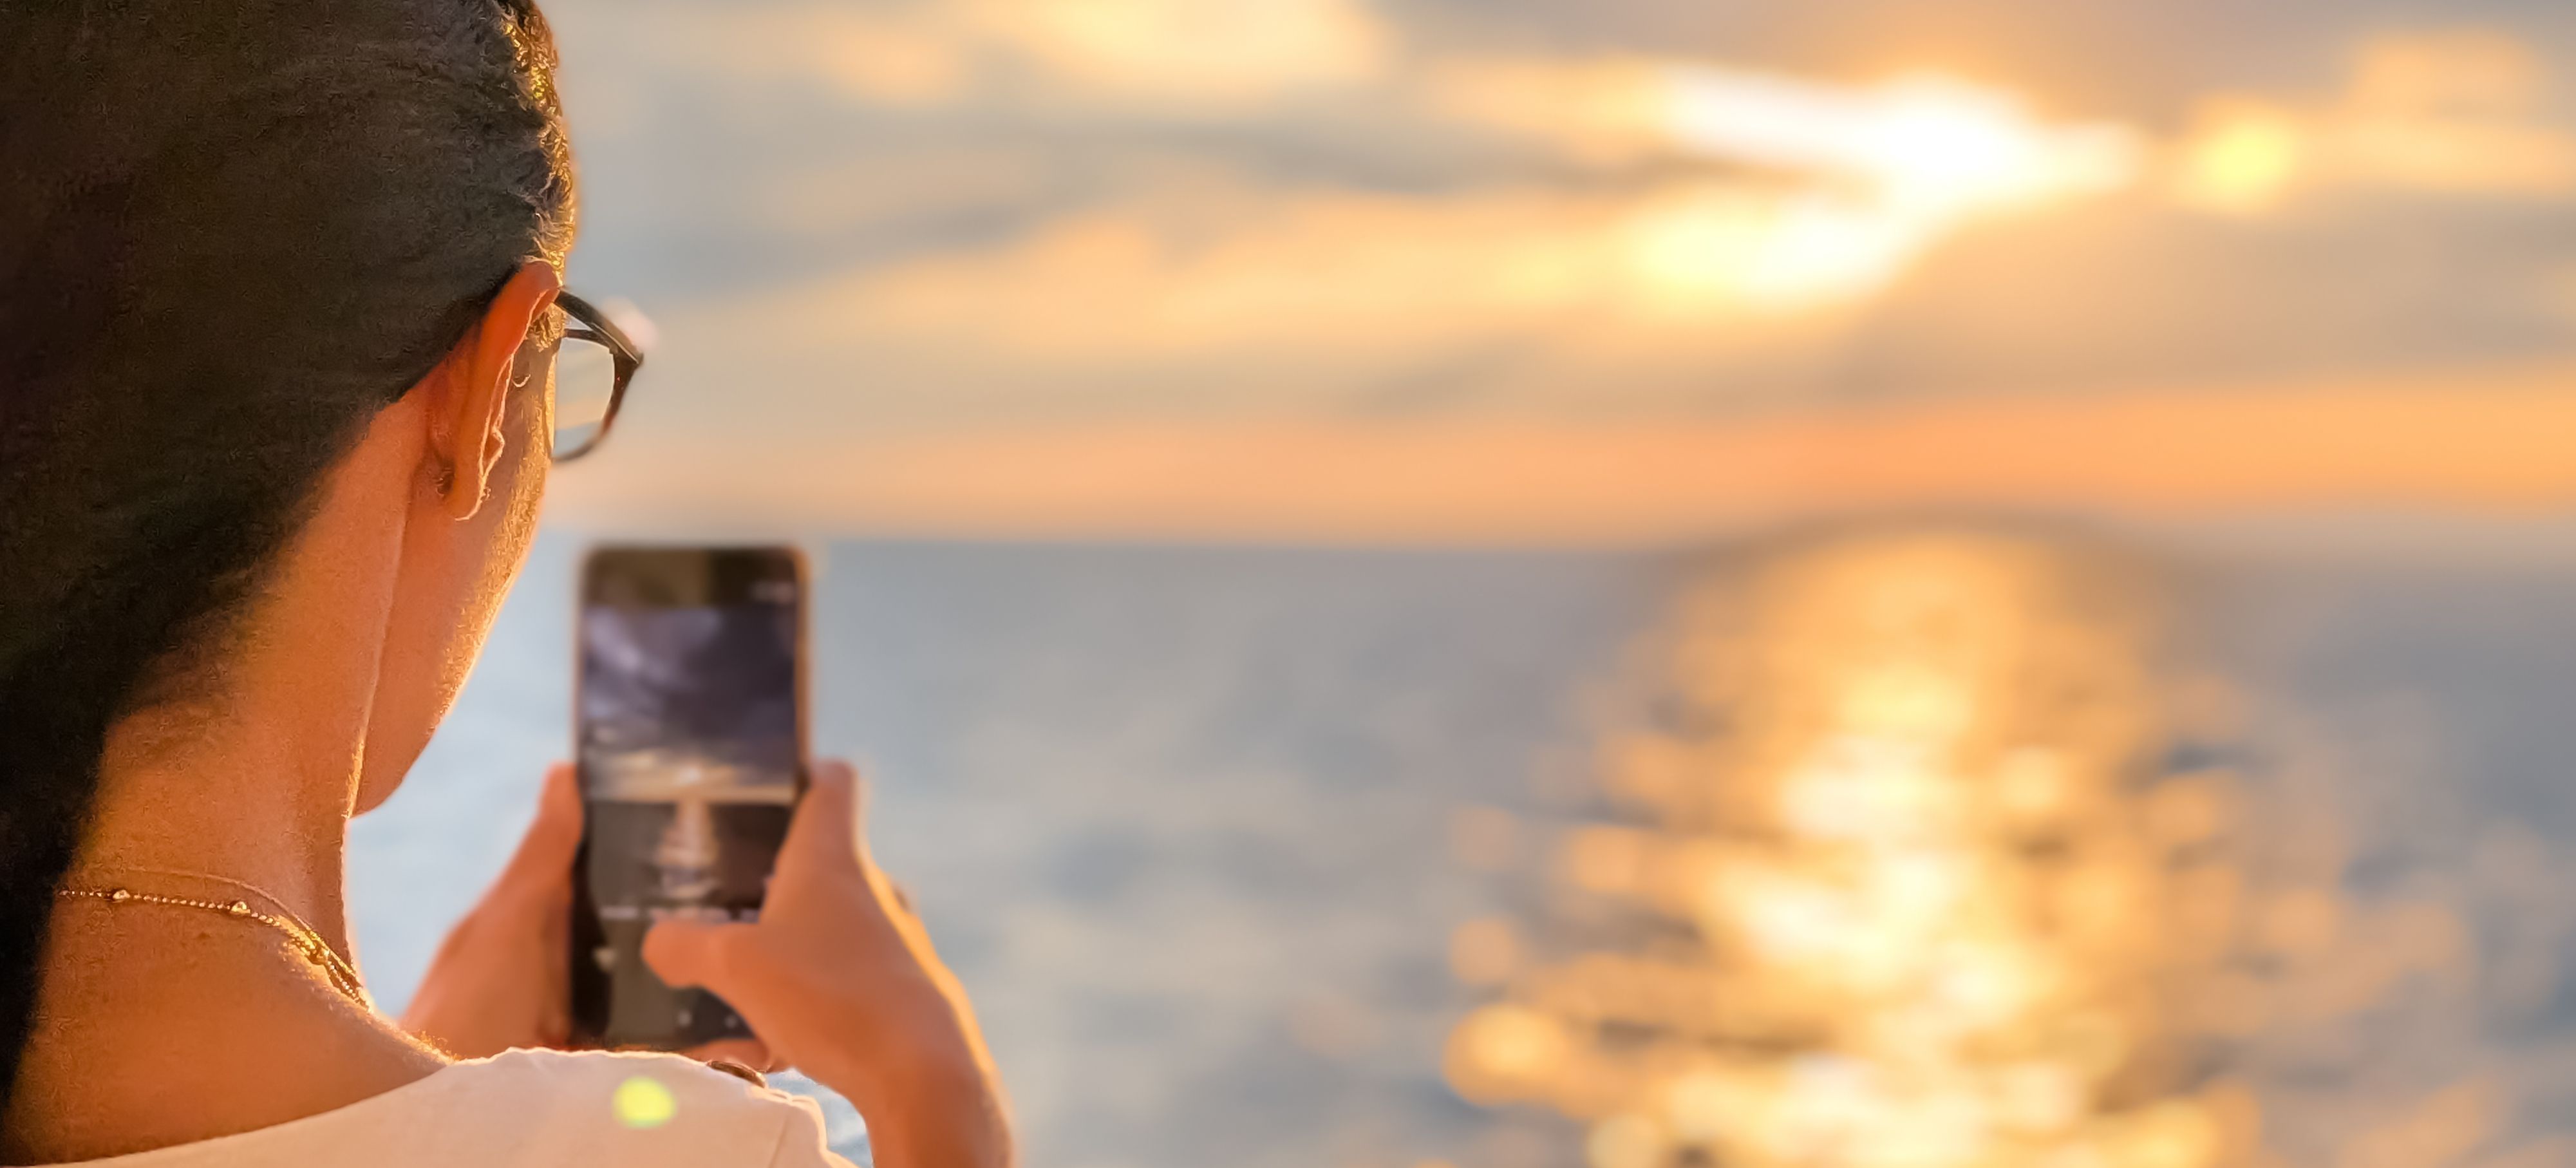
RAW is for when you want to edit like you meant it
If you enjoy editing, or if you keep finding that sunsets look great in person and slightly tragic on your camera roll, RAW capture can help. It gives you more data to work with, especially for highlights and colour.
Apple explains that ProRAW combines RAW information with iPhone image processing and offers more flexibility for editing exposure, colour and white balance. Samsung’s Expert RAW similarly outputs RAW files designed for more detailed editing and HDR control.
You do not need RAW for every shot. Use it when the light is complicated, when you care about the result, or when the sea is doing something dramatic and you do not want your phone to interpret it as “generic blue”.
Compose like you are telling the truth

Cruise photos often fail for one simple reason: they are about everything. Sea, sky, ship, railing, someone’s elbow, an indecisive lifeboat, and the suggestion of land in the distance. Your brain can parse that because you were there. A photo cannot.
The grid helps you simplify. Give the horizon a clear place to live. Put a subject on a third. Let the ship’s curves lead the eye. If the scene is all colour and atmosphere, go minimalist and let it be. If the scene is about scale, include a person at the rail. Humans instantly tell the viewer how big the world is.
Also, do not be afraid of leaving things out. The sea loves negative space. It has been doing it professionally for quite some time.
The tiniest edit makes the biggest difference
Editing is not cheating. It is the part where you make the photo look like what you actually saw, rather than what your phone guessed you meant.
Straighten first. Crop second. Then pull highlights down if the sky is too bright and lift shadows slightly if your ship details have vanished. If the water is strangely neon, reduce saturation a touch. If the whole thing feels cold, warm it a fraction. Stop before it starts looking like a brochure for a resort that is definitely under construction.
Most importantly, do not edit every sea photo the same way. The ocean changes by the hour. Your pictures should too.
A final note from the rail
You do not need a camera bag the size of a carry-on to make beautiful images at sea. You need clean lenses, a level horizon, a steadier stance, and the confidence to tell your phone when it is being overfamiliar.
The rail is there. The light is there. The sea is doing its endless, dramatic thing. All you have to do is show up, hold still for half a second, and try not to drop your very expensive rectangle into the Atlantic.